Welcome to Moda Fabrics!
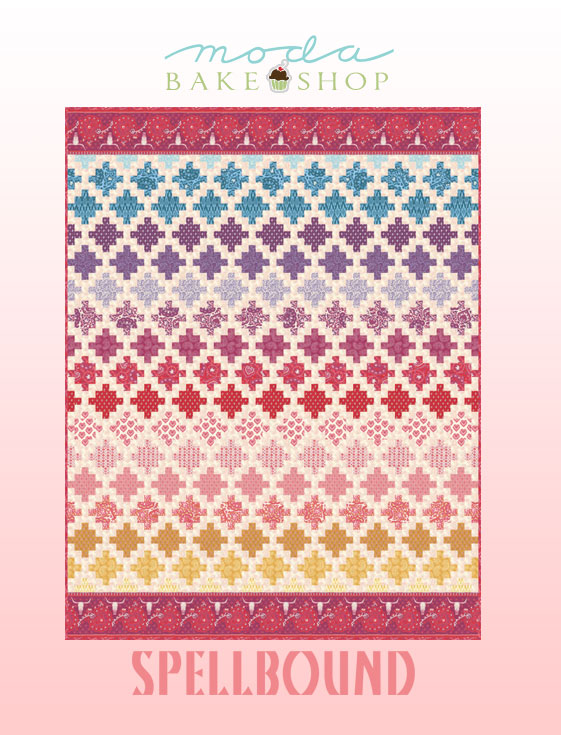
Spellbound Quilt
Spellbound Quilt
She’s a modern-day gypsy wandering through the desert at twilight, captivated by the dance of colors in a sunset on a far horizon. The only way to describe the magical feelings evoked by her experience is to say she’s Spellbound! The latest collection from Urban Chiks captures the bohemian spirit in a fresh color palette.
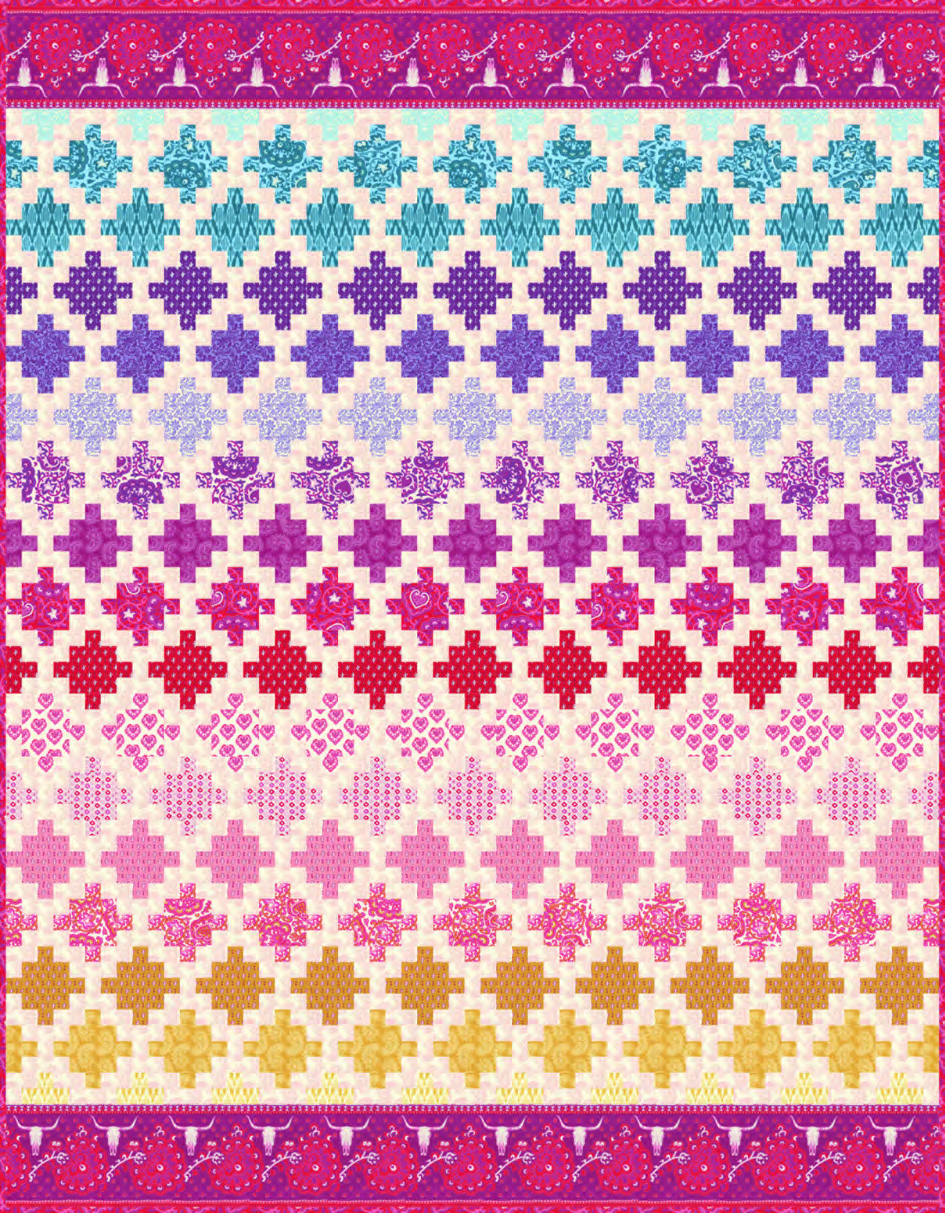
This quilt finishes at 59" x 76".
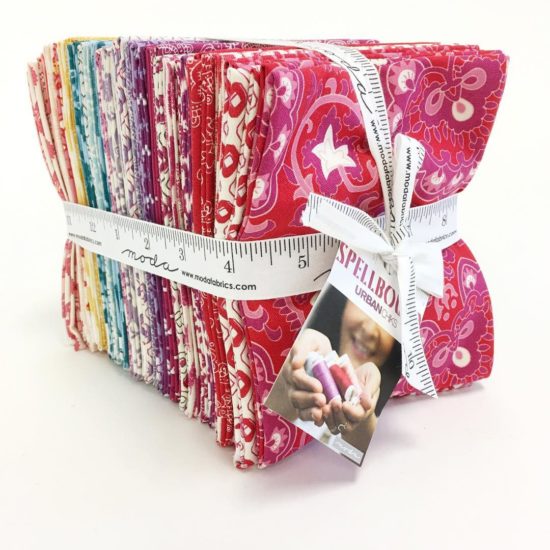
1 Fat Quarter Bundle* {Spellbound by Urban Chiks}
2¾ yards background fabric {SKU number optional}
x yards border fabric {SKU number optional}
4⅔ yards backing fabric {SKU number optional}
⅝ yards binding fabric {31111 11}
*This quilt requires 14 fat quarters and 2 fat eighths.
cutting.
Row A (including between rows)
From EACH of the 2 Fat Eighths, cut
- 1–3½" x 22" strip
- 1–1½" x 22" strip
Row B (including between rows)
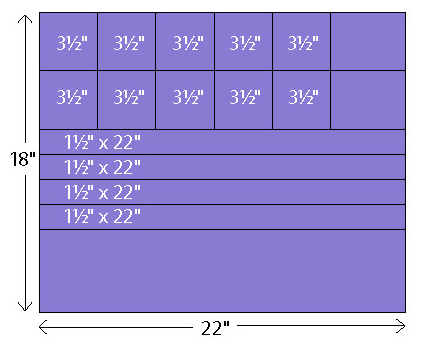
From EACH of 8 Fat Quarters, cut
- 2–3½" x 22" strips
From the strips, cut 9–3½" squares and 2–3½" x 1½" - 4–1½" x 22" strips
Row C (including between rows)
From EACH of 6 Fat Quarters cut
- 2–3½" x 22" strips
From the strips, cut 10–3½" squares - 4–1½" x 22" strips
Row C (including between rows) and Borders
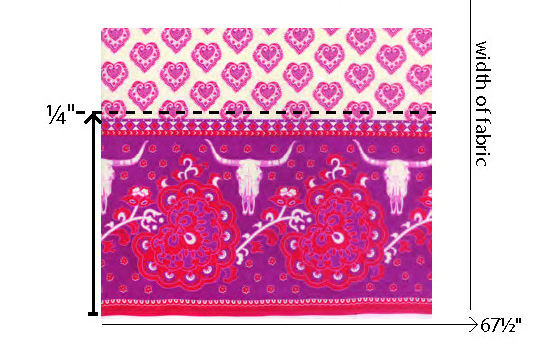
Cut the border design from both sides of the length of fabric including a ¼" seam allowance. The length of the 2 borders is 59½", the width may vary.
For Row C
From remaining heart fabric cut
- 2–3½" x 22" strips
From the strips, cut 10–3½" squares - 4–1½" x 22" strips
Background
- 8–3½" x width of fabric strips
From the strips, cut 2–3½" x 22" strips and
159–3½" x 1½" rectangles and 2–1½" x 1½" squares - 16–2½" x width of fabric strips
From the strips, cut 32–2½" x 22" strips - 15–1½" x width of fabric strips
From the strips, cut 30–1½" x 22" strips
Binding
- 7–2½" x width of fabric strips
Sew the strips end-to-end to make the binding.
construction.
STEP ONE. To make one Row A and the segments for the "between rows" use one print and the background.
- Join 1–3½" x 22" print and 1–3½" x 22" background strip as shown to make 1 strip set.
Cut 10–1½" wide segments.
- Join 1–1½" background square and 10 segments as shown to make Row A. Trim the row to 59½" long.
- Join 1–1½" x 22" print and 1–2½" x 22" background strip as shown to make 1 strip set. Cut 10–1½" wide between segments. Set aside for now.
- Repeat STEP ONE to make a total of 2 Row As for top and bottom of the quilt.
STEP TWO. To make one Row B and the segments for the "between rows" use one print and the background.
- Join 1–1½" x 22" print and 2–1½" x 22" background strips as shown to make 1 strip set. Make 2 strip sets. Join 2 segments and 1–1½" x 3½" background rectangle to make a 7-Patch. Make ten 7-Patches.
- Join 9–3½" print squares, ten 7-Patches, and 2–1½" x 3½" prints as shown to make 1 Row B.
- Join 1–1½" x 22" print and 1–2½" x 22" background strip as shown to make 1 strip set. Make 2 strip sets. Cut 18 between segments. Set aside for now.
- Repeat STEP TWO to make a total of 8 Row Bs.
STEP THREE. To make one Row C and the segments for the "between rows" use one print and the background.
- Join 1–1½" x 22" print and 2–1½" x 22" background strips as shown to make 1 strip set. Make 2 strip sets. Cut 20–1½" wide segments. Join 2 segments and 1–1½" x 3½" background rectangle to make a 7-Patch. Make nine 7-Patches.
- Join 10–3½" print squares, Nine 7-Patches, and two 3-Patches as shown to make 1 Row C.
- Join 1–1½" x 22" print and 1–2½" x 22" background strip as shown to make 1 strip set. Make 2 strip sets. Cut 20 between segments. Set aside for now.
- Repeat STEP THREE to make a total of 7 Row Cs.
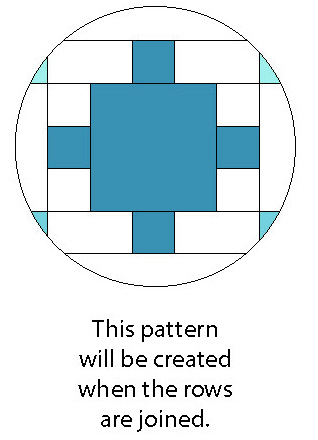
STEP FOUR. To make a between row, select the between segments for the prints in the row above and below the between row. Each row uses a total of 19 between segments and 1–3½" x 1½" background rectangle. Using the diagram on the next page and the cover quilt for reference, create the 16 between rows.
Between Rows – Make 16

STEP FIVE. Join all the rows as shown below.
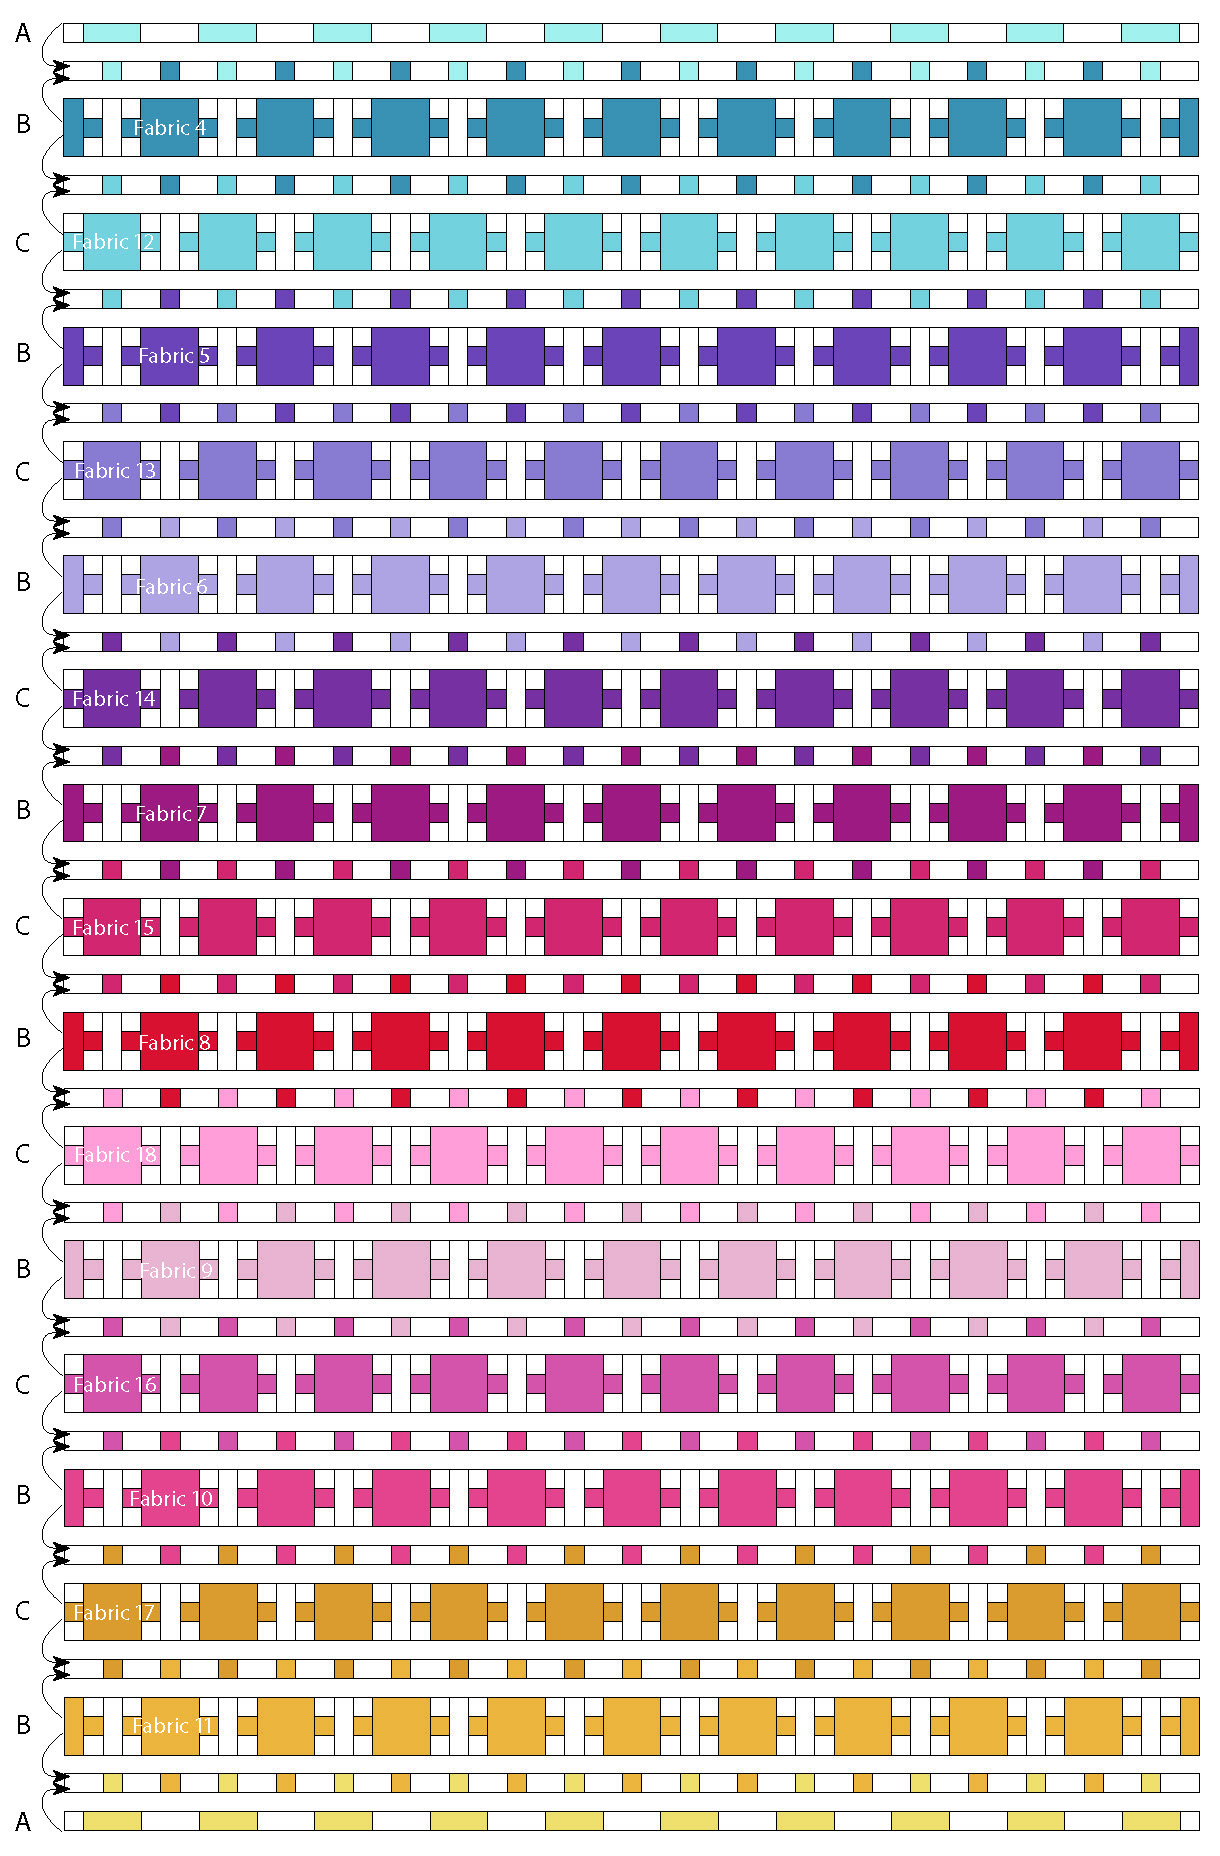
STEP SIX. Add the 7" x 56½" top and bottom borders. Trim away the selvages from the borders if you haven't already. Layer, quilt, and bind.
This quilt finishes at 59" x 76"







Comments