Welcome to Moda Fabrics!
Countdown to Christmas: Peppermint Star
Countdown to Christmas: Peppermint Star
 Welcome back to the Countdown to Christmas! With only 3 days until Christmas, I'm sure you're out straight with holiday preparations. Here's a fun little block to tempt you to take a few moments for yourself!
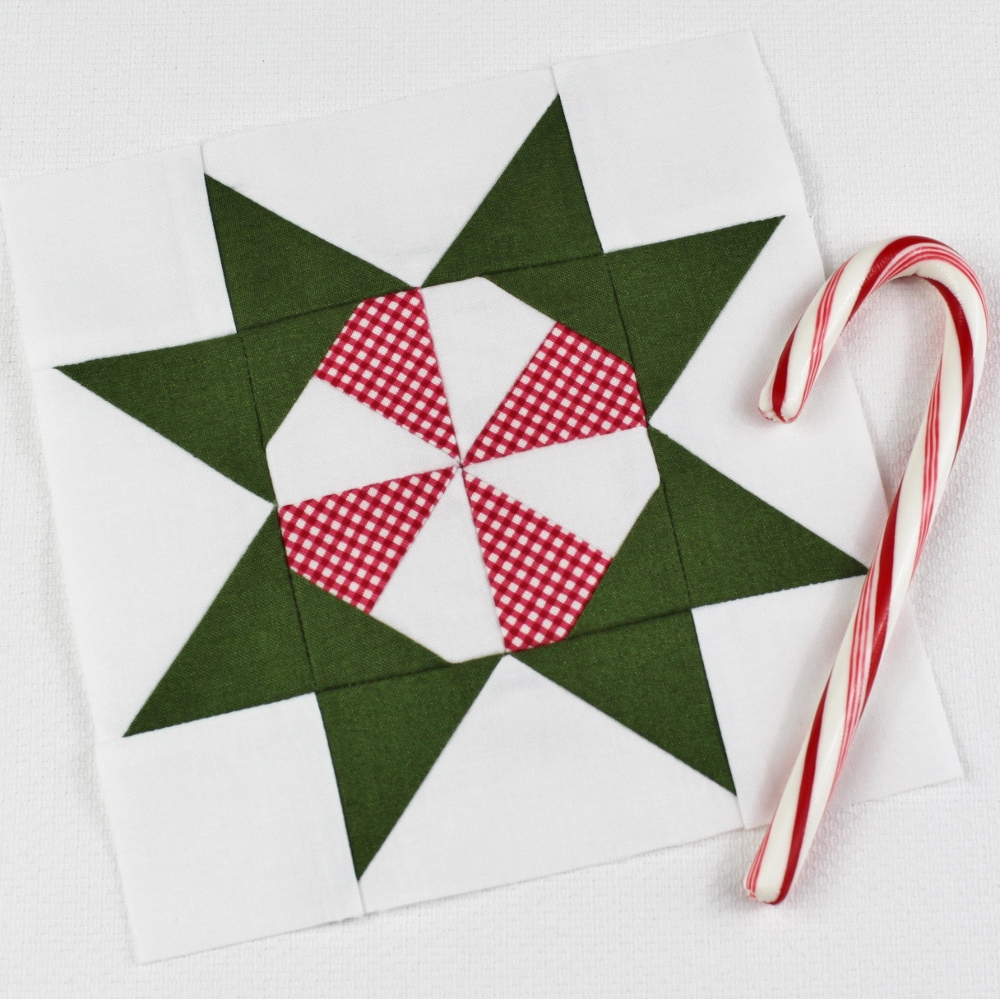
It's my Peppermint Star block and it features a pinwheel peppermint tucked inside a Sawtooth Star—sew sweet!
This quilt block finishes at 6" square.
1 fat quarter red print (shown in Cottontail Cottage Country Red by Bunny Hill Designs)
1 fat quarter green print (shown in Ombre Avocado by V and Co.)
1 fat quarter background fabric (shown in Bella Solids - White)
CUTTING:
From red print, cut:
- 2 squares, 2½" x 2½"
From green print, cut:
- 8 squares, 2" x 2"
- 4 squares, 1½" x 1½"
From white print, cut:
- 4 rectangles, 2" x 3½"
- 2 squares, 2½" x 2½"
- 2 squares, 2" x 2"
1. On the wrong side of a white 2½" square, use a pencil to lightly draw 2 diagonal lines a scant ¼" from the true diagonal of the square as follows. If it helps, go ahead and draw the true diagonal line first.
2. Layer the marked white 2½" square atop a red print 2½" square with right sides together.
3. Stitch the pair together exactly on the drawn lines. Press to set seams.
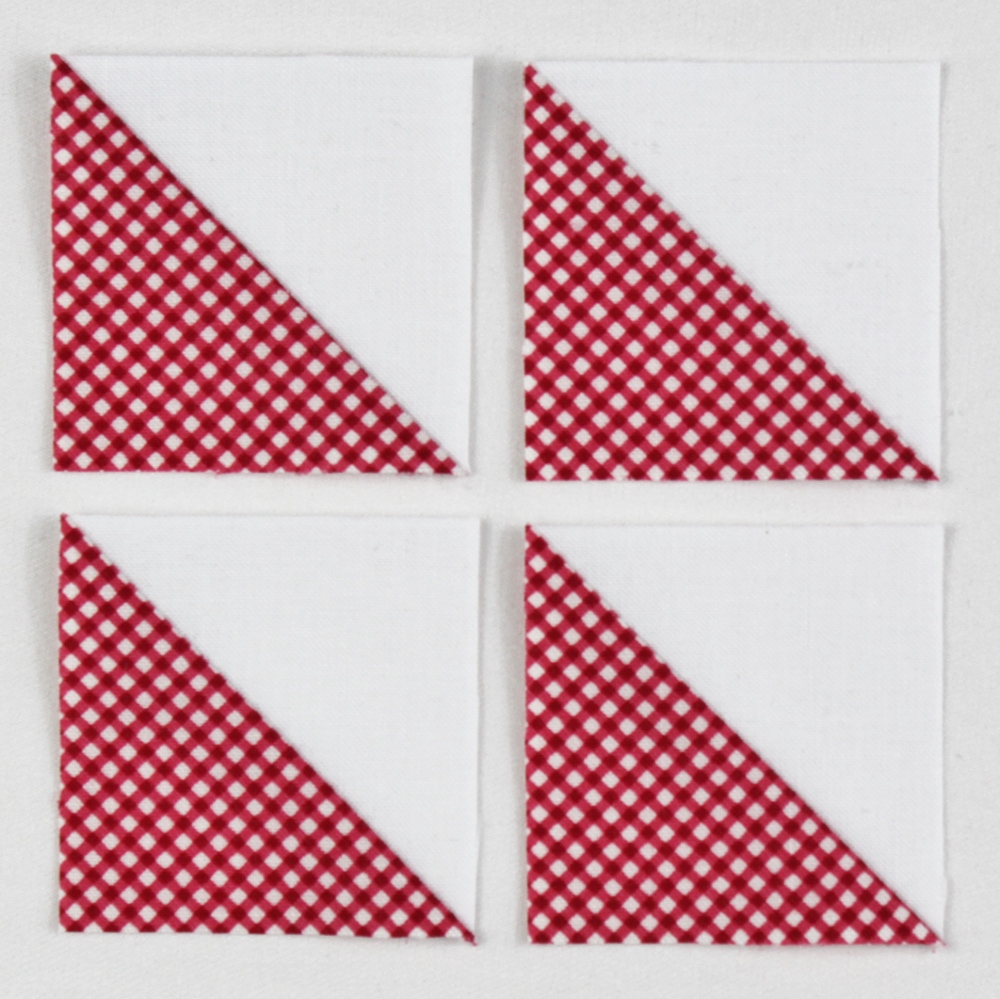
4. Use a rotary cutter to cut the unit in half between the seams to make 2 half-square-triangle units. Press the seam allowances toward the red print.
5. Trim the HST units to measure 2" x 2" unfinished.
6. Repeat to make 2 additional red/white HSTs for a total of 4.
7. Lay out 4 HSTs in 2 rows of 2 each as follows.
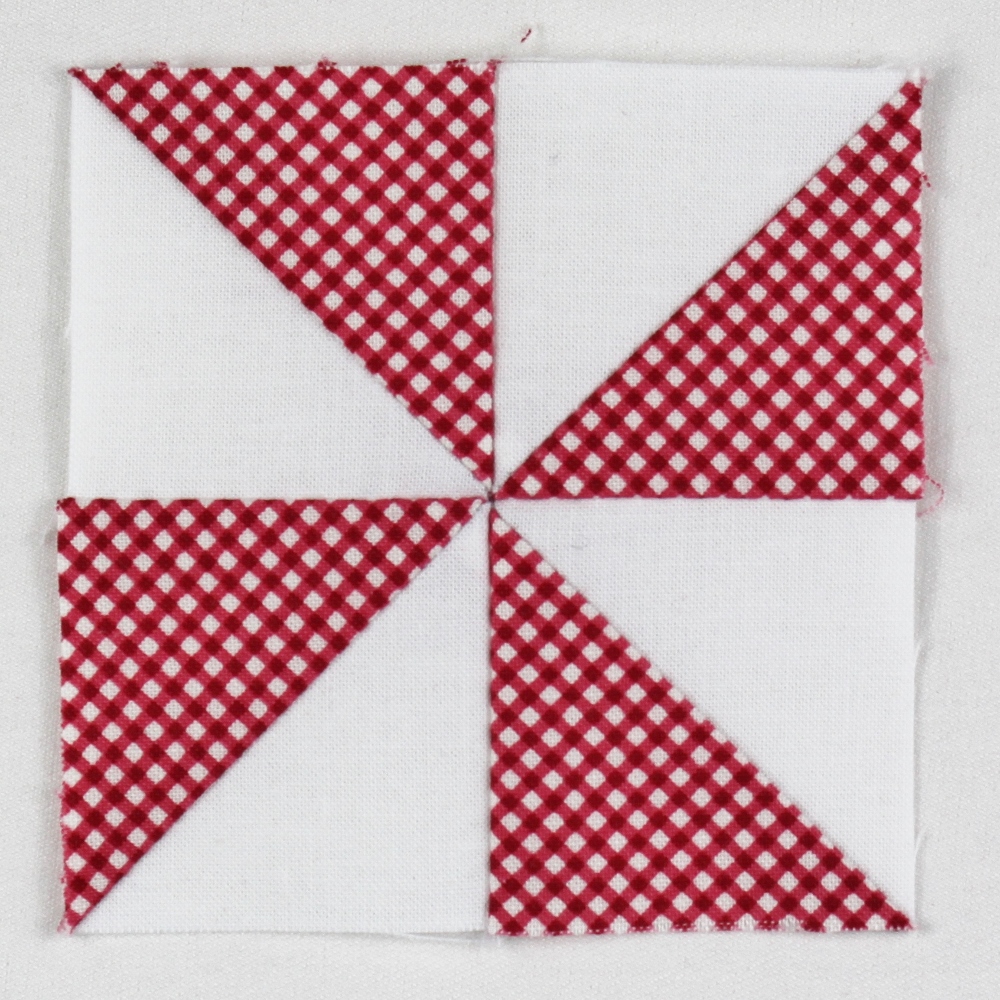
8. Join together pieces in each row. Press the seam allowances toward the red print.
9. Join the rows together to make a Pinwheel block measuring 3½" square unfinished.
10. Fan seam allowances open in back, pressing toward the red print, to reduce the bulk at the center of the block. Press.
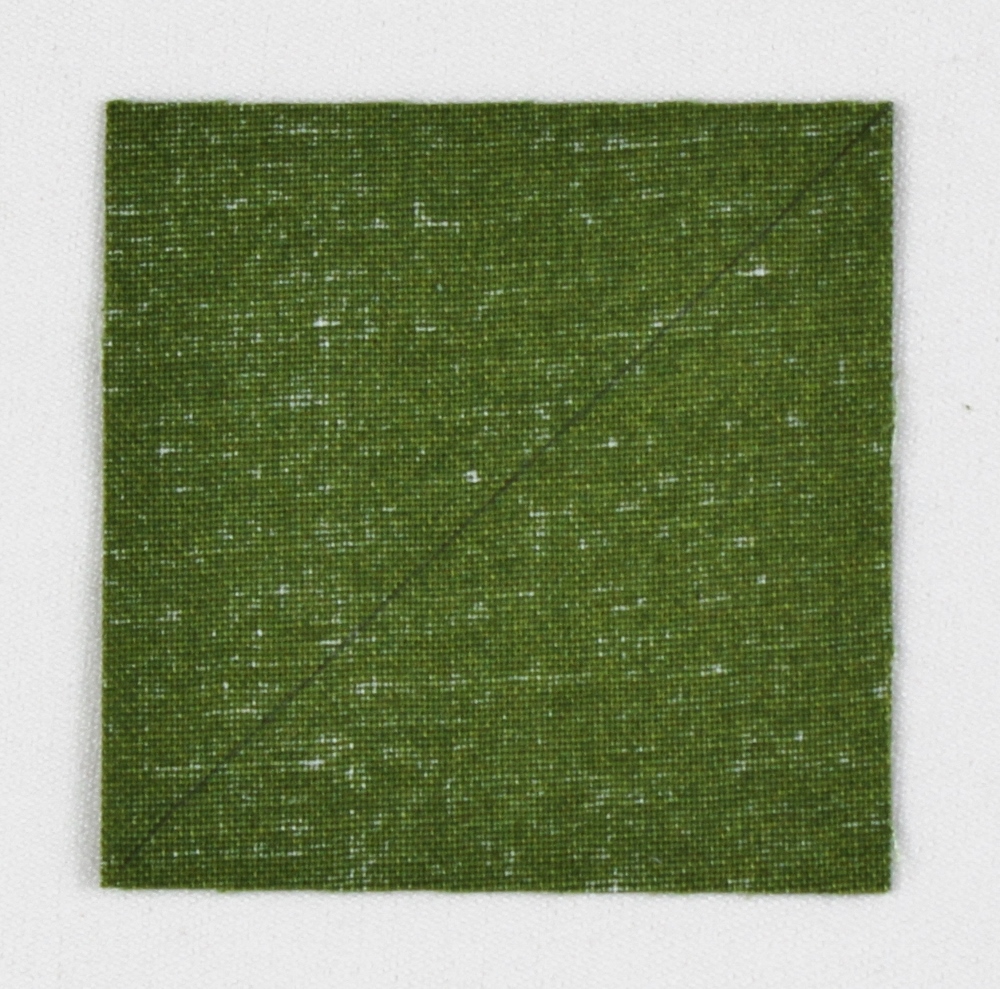
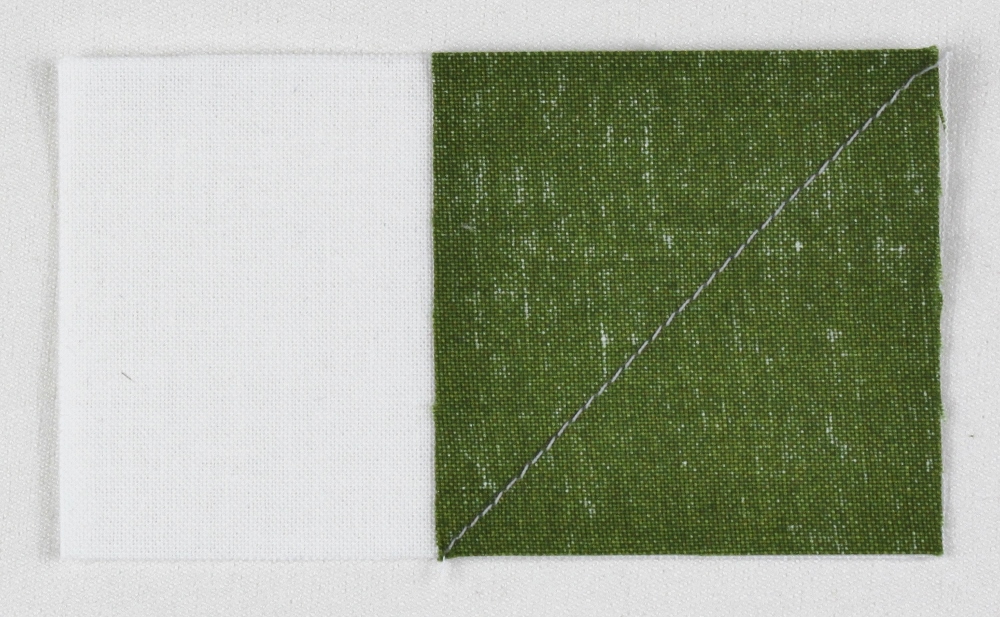
11. On the wrong side of the 4 green print 1½" squares, draw a diagonal line from corner to corner.
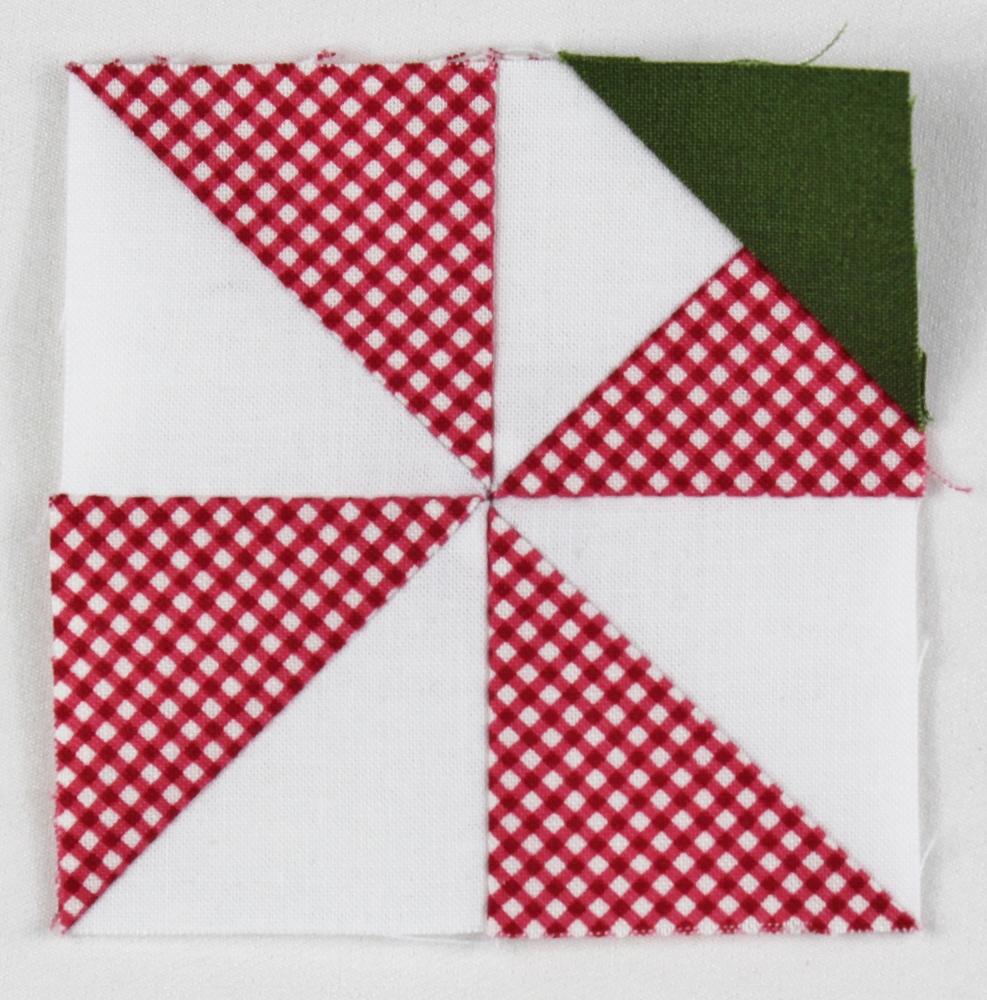
12. Layer a marked green 1½" square atop one corner of the Pinwheel block with right sides together. Stitch the pair together along the drawn line.
13. Press open toward the green print and trim seam allowance to ¼".
14. Repeat with remaining 3 corners to make a Peppermint block measuring 3½" x 3½" unfinished.
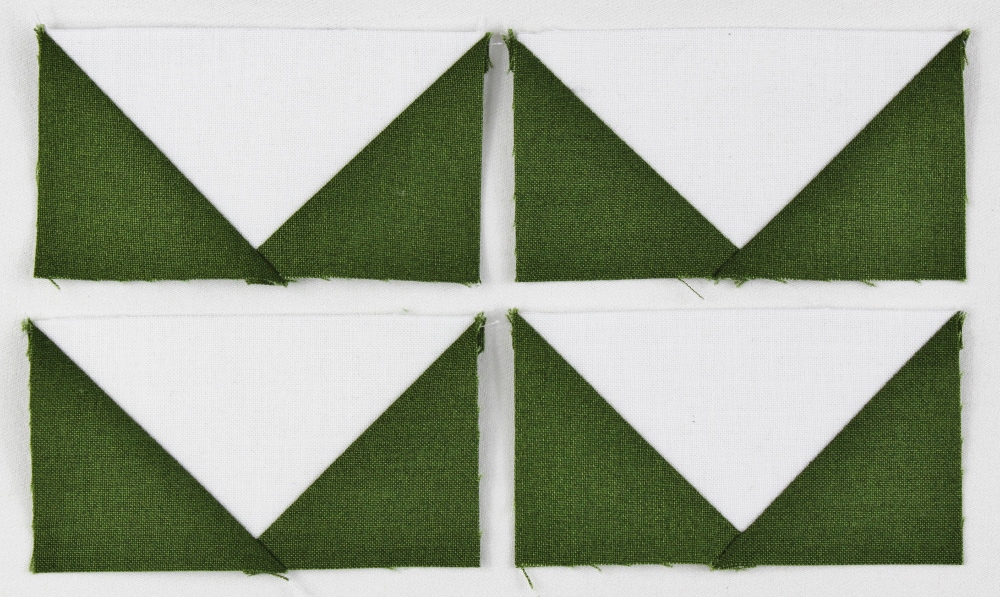
15. On the wrong side of the 8 green 2" squares, draw a diagonal line from corner to corner.
16. Layer a marked green 2" square atop one end of a white 2" x 3½" rectangle with right sides together. Stitch the pair together along the drawn line.
17. Press open toward the green print and trim seam allowance to ¼"
18. Repeat with remaining end of white rectangle to make a flying geese unit measuring 2" x 3½".
19. Repeat to make 4 flying geese units.
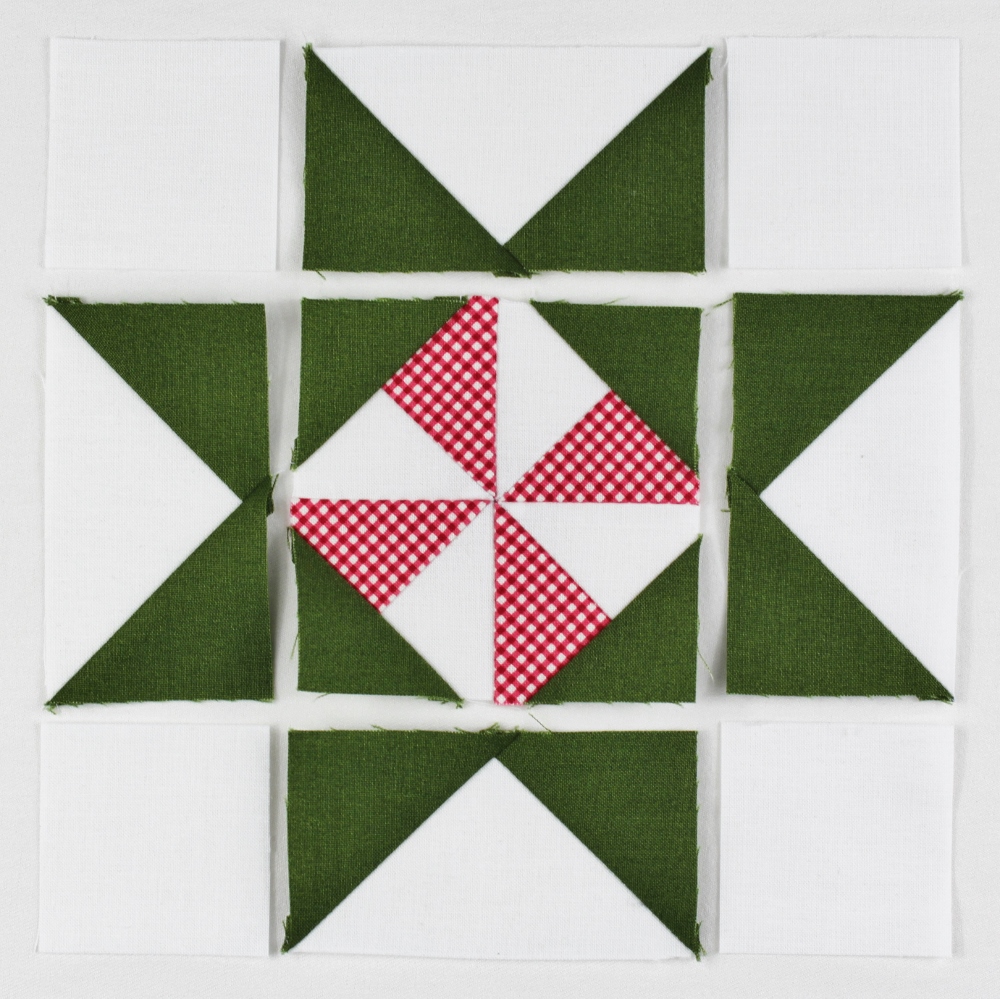
20. Lay out Peppermint block, 4 flying geese units and 4 white 2" x 2" squares in 3 rows as shown.
21. Join the pieces together in each row. Press the seam allowances in the top and bottom row toward the white squares. Press the seam allowances in the center row open.
22. Join the rows together to make a Peppermint Star block measuring 6½" x 6½" unfinished. Press seam allowances open.
One sweet quilt block that finishes at 6" square.
If you share your blocks on Instagram or Facebook, please tag me @JenDalyQuilts — I'd love to see what you're up to! And if you're looking for more Christmas candy block ideas, be sure check out the Sweet Shoppe Quilt-Along at my blog, JenDalyQuilts.com!
Happy Holidays!
Jen Daly
www.jendalyquilts.com












Comments